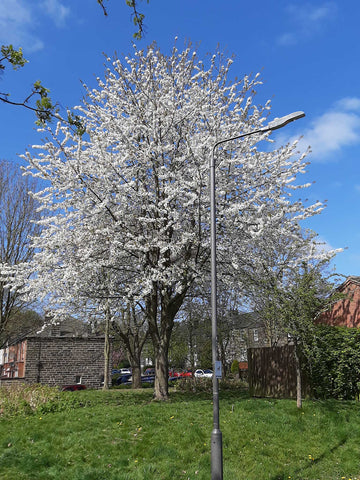
Sitting in the garden in April I noticed how the blossom on the Wild Cherry tree, just the other side of the garden wall, had come on leaps and bounds in just a couple of days.
It occurred to me that this would make a good little painting exercise, so I popped the other side of the wall and took this photo.
Bearing in mind that with watercolour, depicting white areas, is more about what we leave out than what we put in, this could be quite a challenging subject, but I hope you’ll agree, good fun to do.
In order to preserve the white paper, which will ultimately represent the white flowers, I wet the paper all over with a 1” flat brush, allowing this to go off for maybe 20 to 30 seconds, before applying masking fluid, wet into wet; allowing it to “feather out” and soften into the damp background.
It is important at this stage not to over-do the masking fluid, as the gaps between the blossom, and branches, where we can see the blue of the sky, are very important.
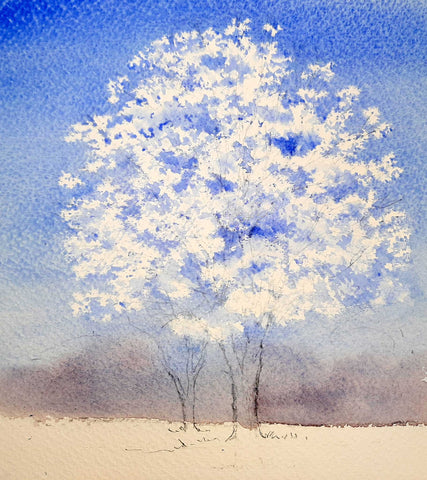
Once the masking fluid had dried I painted in the sky with a wash of blue, mixed from French Ultramarine and Cobalt blue, lightening this towards the bottom, by adding a touch of water.
While this background wash was still wet, I floated in a touch of grey mixed from Cobalt Blue, Rose Madder and Burnt Sienna, to suggest some distant shapes, before leaving it to dry.
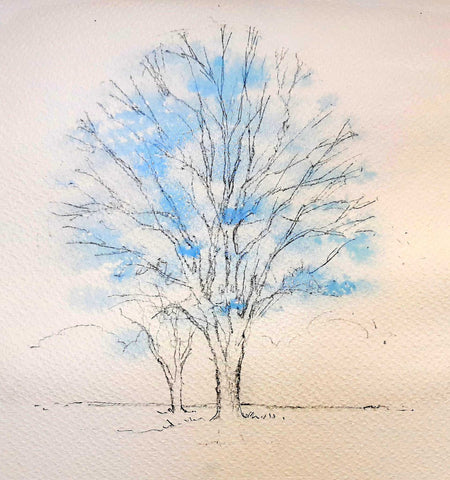
Once I had removed the masking fluid, I gave it a bit of thinking time, comparing what I had on the paper with the reference photo, and I decided there was a touch too much white paper.
To remedy this I took a number 2 round brush, and filled in some of the white, with the blue mixture; basically putting a bit of sky back.
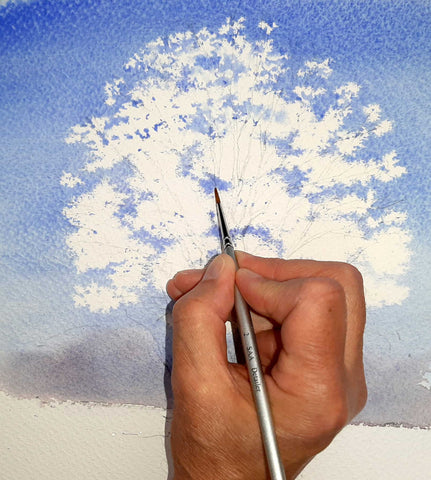
This picture shows how much white paper I deemed was the correct amount.
Now it was time to convert this, hopefully, into convincing looking Cherry Blossom.
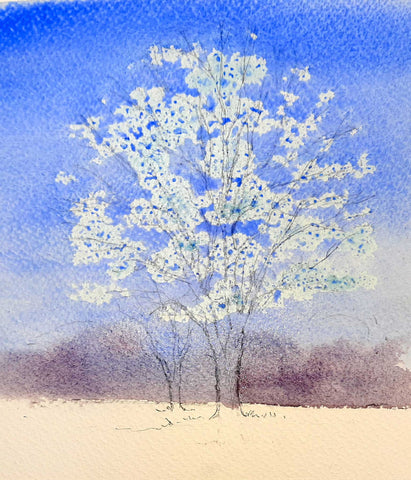
If we take another look at the reference photo, we can see that amongst the white blossom is quite a lot of grey shadow. With this in mind, I made another mixture of light grey (Cobalt Blue Rose Madder and Burnt Sienna) before starting to convert some of the white into grey, mainly using dry-brush work.
I was careful to put in this grey, more or less, at the bottom parts of the clumps of white. With the light coming from above, this gave the appearance of shadow amongst the blossom, hopefully giving it a more three dimensional appearance.
It is very important at this stage to keep referring to the reference photo, in order to keep in mind what it should actually look like, and what you are trying to achieve.
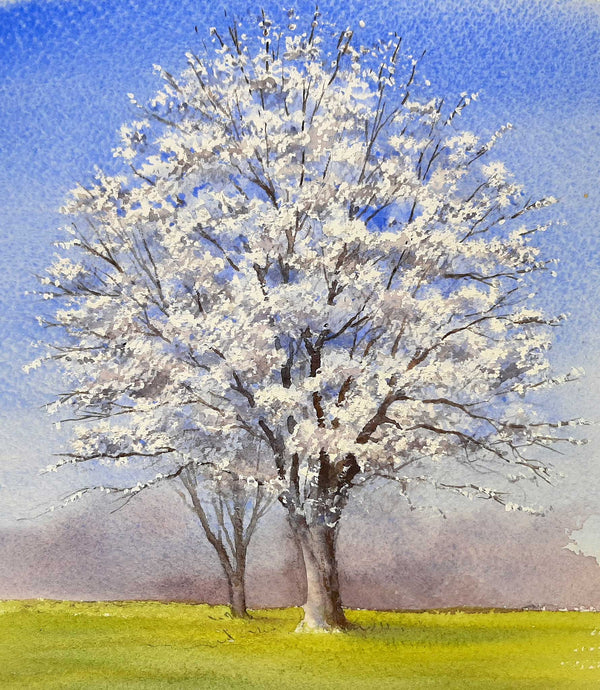
Once the grey in the foliage had dried, and I was satisfied that I was on track, I put the trunk in with the same light grey, before using a darker mixture made from French Ultramarine and Burnt Sienna to give the trunk a shaded side.
I then used this same dark colour, with the number 2 round brush, to pick out the branches. Remember that these branches are glimpsed between the blossom, and gradually get finer towards the edge of the tree.
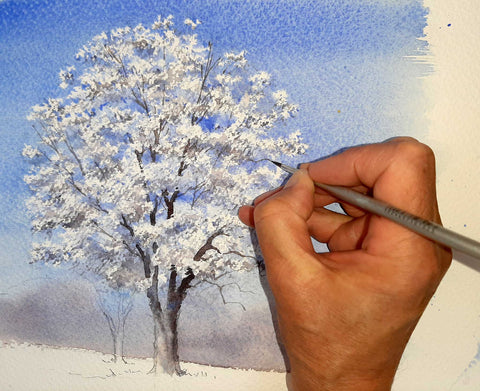
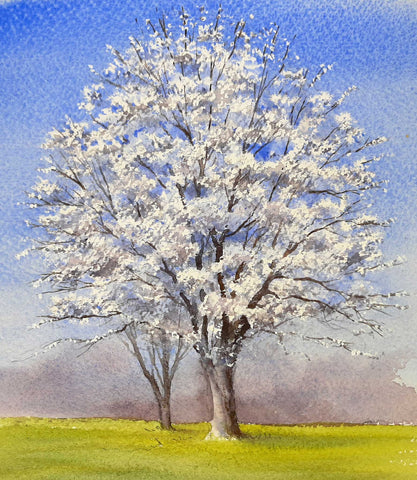
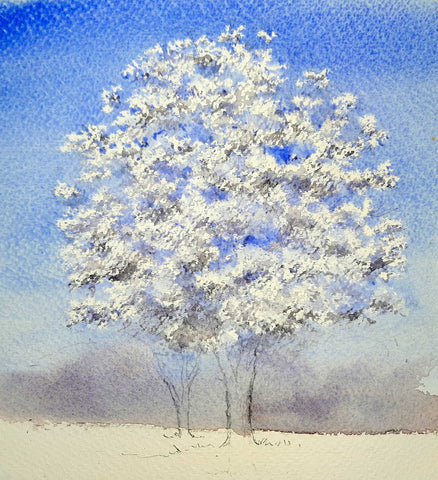
Time now for a few final touches.
The next step was to use a bit of white gouache to pick out a few more suggestions of flowers towards the outer limits of the tree, connecting these where necessary with a bit more fine branch-work.
Following this I put in a glimpse of another tree, to help create a bit of distance, before finally a touch of bright green and a darker green along the ground, to give the tree a bit of context.